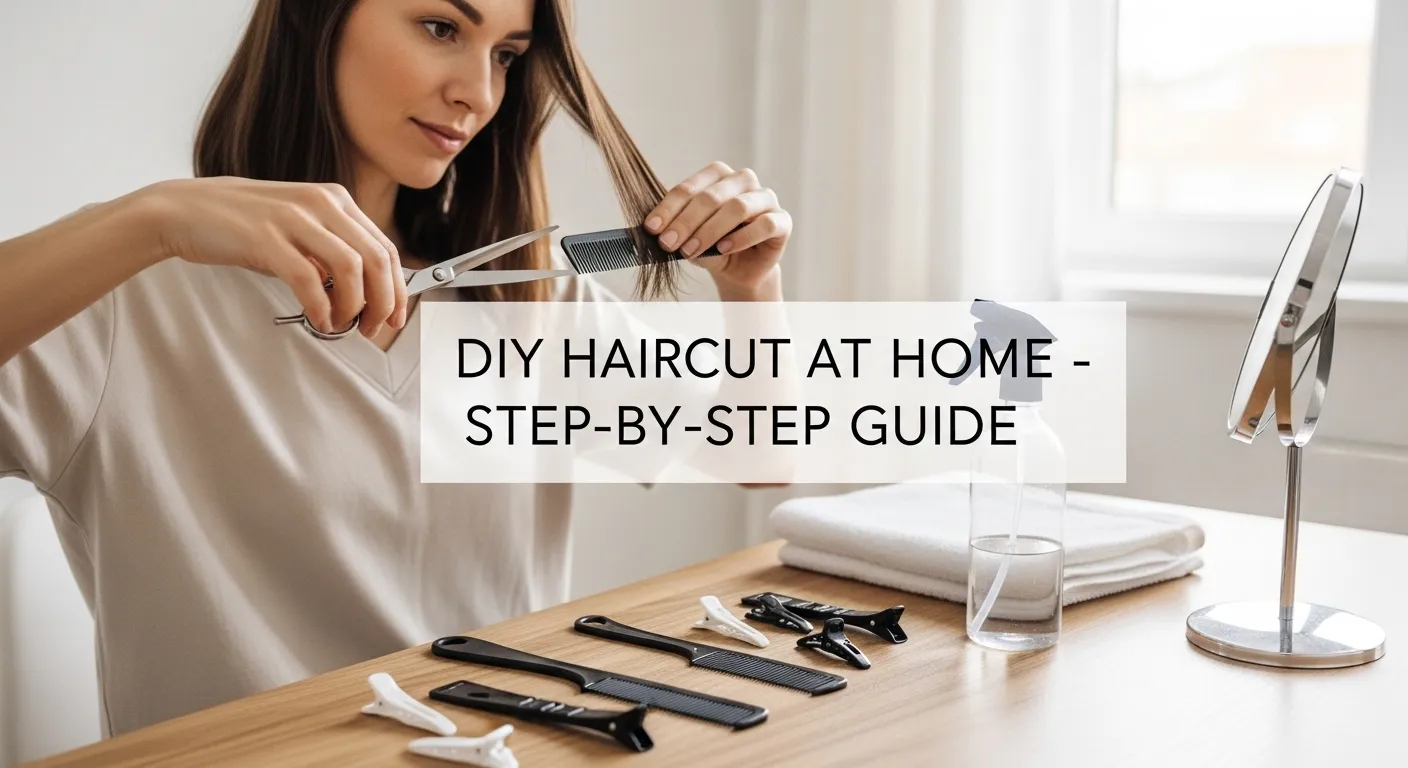
Transform Your Hair: Easy DIY Haircut at Home Tips for Beginners
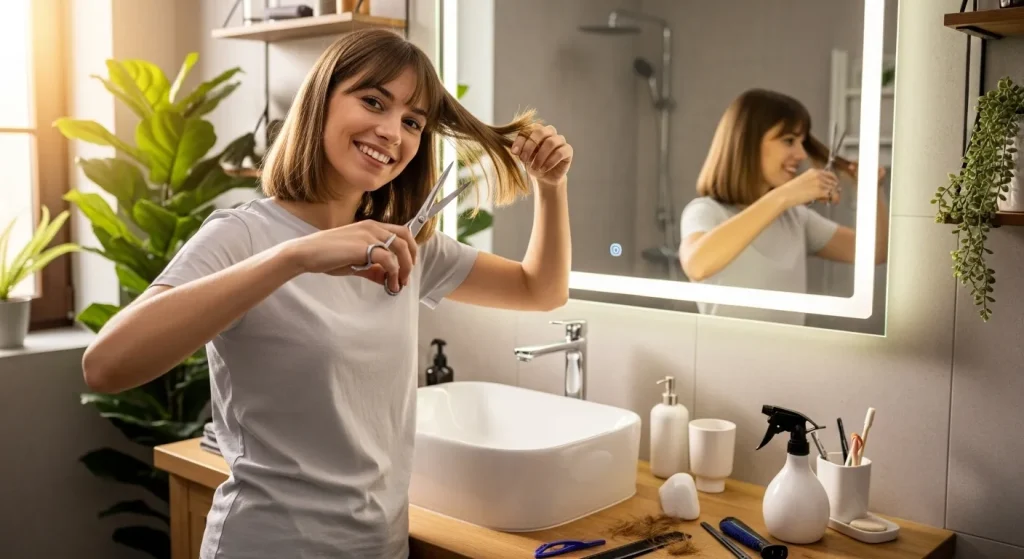
Whether it’s to save money, experiment with your look, or avoid salon visits, giving yourself a DIY haircut at home is easier than you might think. With the right tools, patience, and guidance, beginners can achieve professional-looking results.
This guide covers everything you need to know: preparing your tools and space, learning simple cutting techniques, and exploring beginner friendly styles. By the end, you’ll feel confident trimming bangs, adding layers, or freshening up your ends without stepping foot in a salon.
Why Try a DIY Haircut at Home?
Cutting your own hair might sound intimidating, but the benefits are undeniable:

- Save money on salon visits.
- Trim or restyle whenever it’s convenient.
- Take control over the length and shape of your DIY haircut at home.
- Build a new skill that improves with practice.
Tools You’ll Need for a DIY Haircut
Gather these essentials before you start:
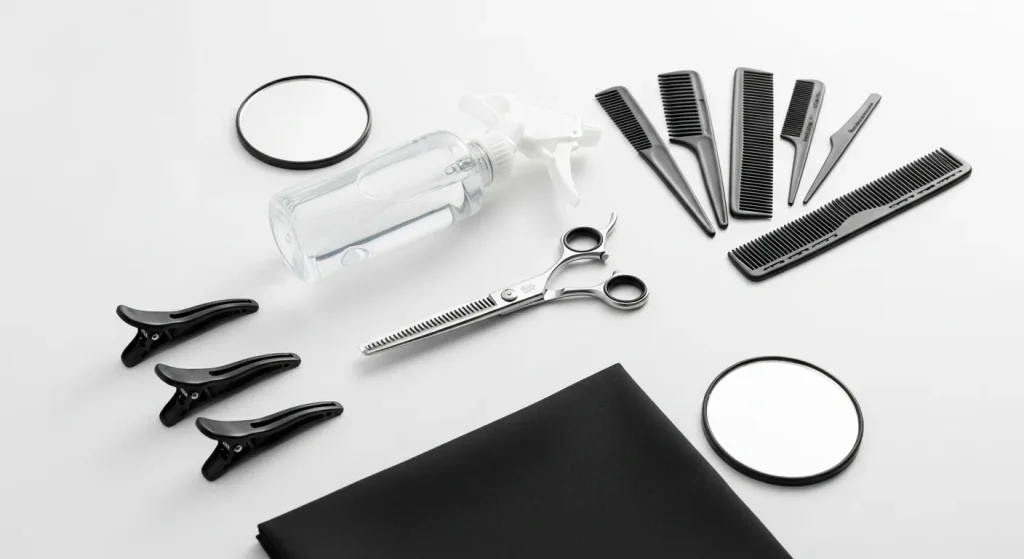
- Sharp haircutting scissors (not household scissors).
- Sectioning clips to organize hair.
- Fine-tooth and wide-tooth combs.
- Spray bottle filled with water.
- A good mirror setup, ideally two so you can see the back.
- A towel or cape to protect your clothes.
Step-by-Step Guide to Cutting Your Hair at Home
Step 1 – Prepare Your Hair and Space
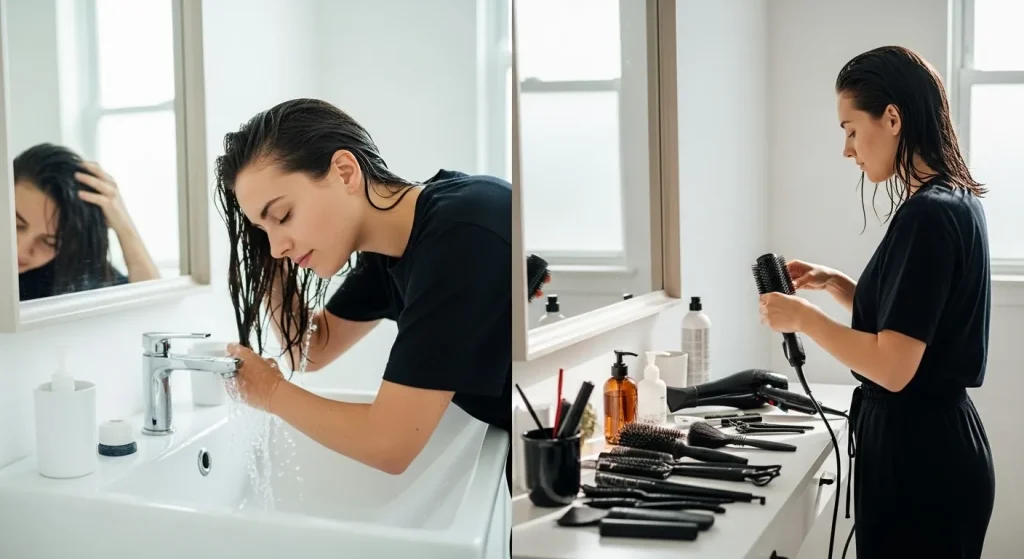
Wash and towel-dry your hair until slightly damp. Set up a well-lit space with a mirror and keep your tools within reach.
Step 2 – Section Your Hair
Divide hair into four main sections: top left, top right, bottom left, and bottom right. Smaller sections will give you better control.
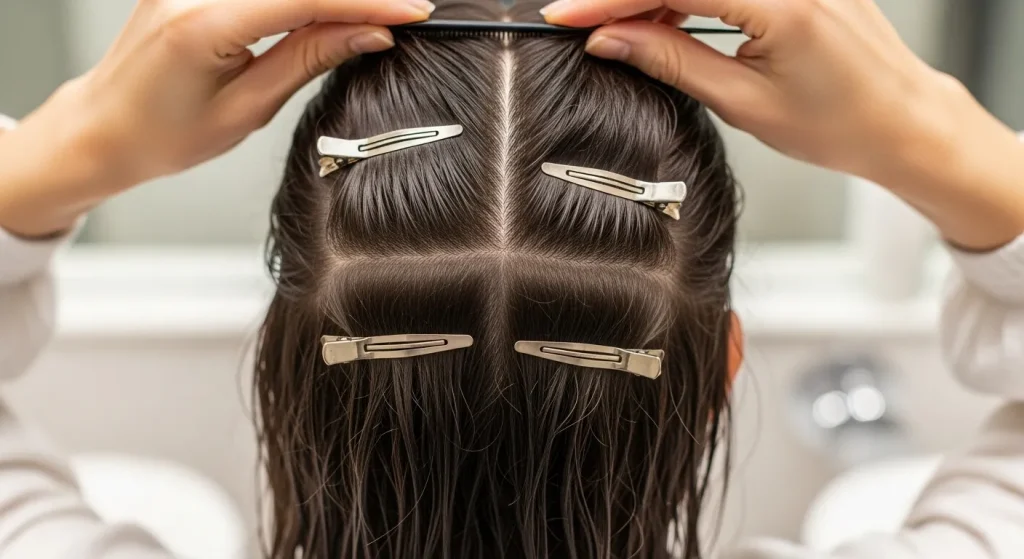
Step 3 – Start with the Back
Take a small section from the bottom layer, comb it straight, and trim ½–1 inch from the ends. Use this as your guide for the rest of the back.
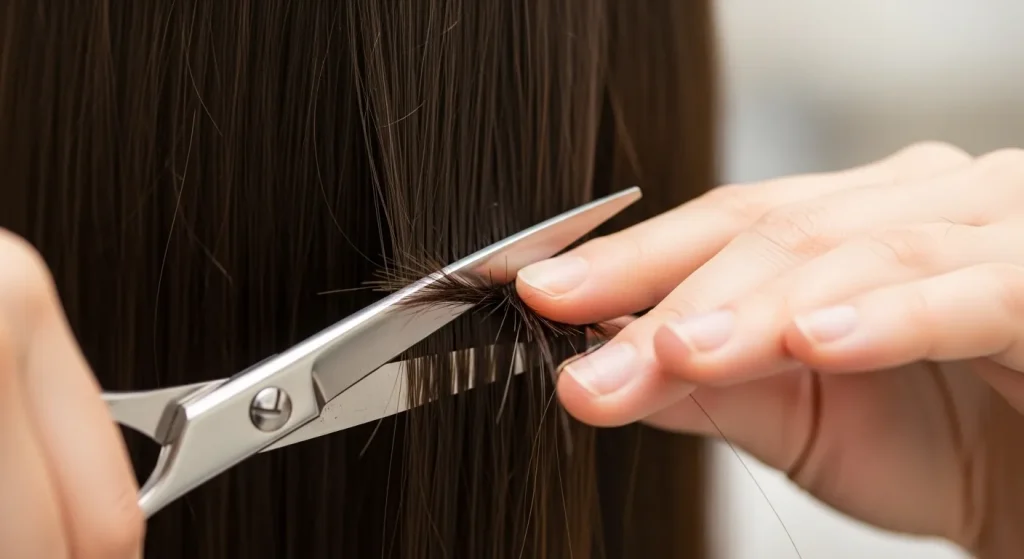
Step 4 – Move to the Sides
Release one side section at a time, match its length to the back guide, and trim. Repeat on the other side.
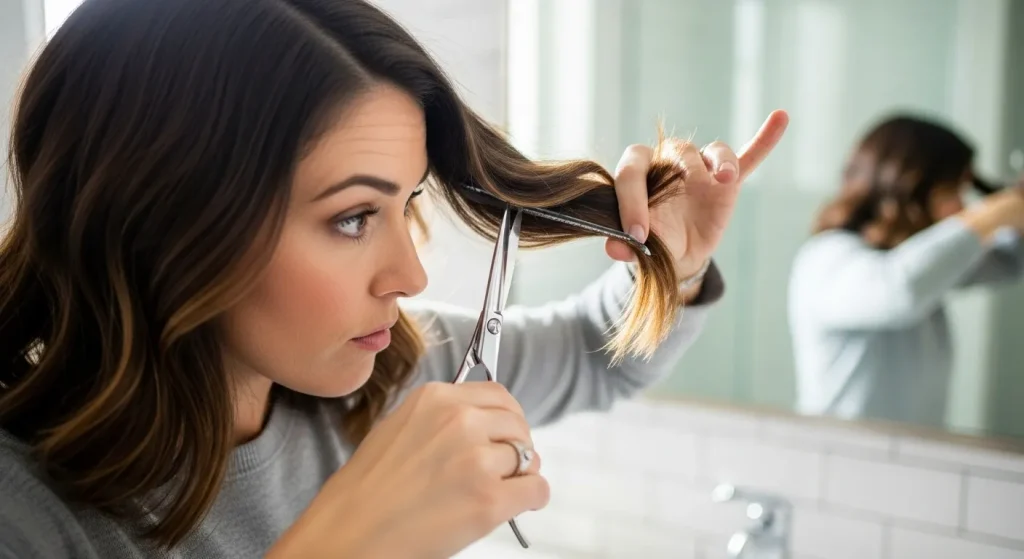
Step 5 – Check for Balance
Comb all your hair forward and check if both sides are even. Trim lightly if one side is longer.

Step 6 – Add Layers
Gather hair into a high ponytail at the crown, comb it straight, and trim a small amount from the ends. When released, this creates soft layers.
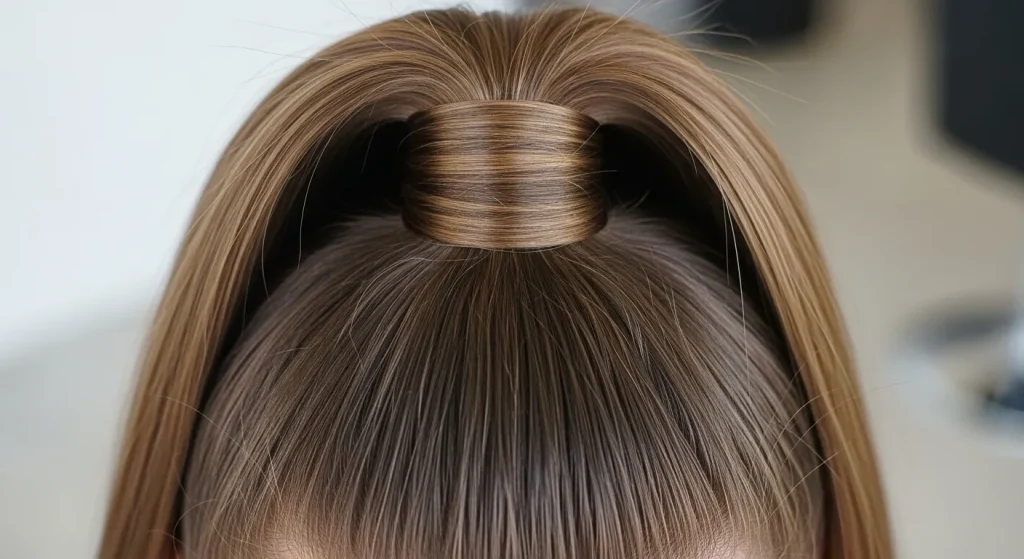
Step 7 – Trim Bangs or Face-Framing Pieces
Comb bangs forward, twist them for a softer finish, and trim little by little. Remember bangs shrink when dry, so cut conservatively.
Step 8 – Final Touches DIY Haircut at home
Blow-dry and style your hair as usual. Use mirrors to check all angles and do final adjustments if necessary.

Common Mistakes to Avoid
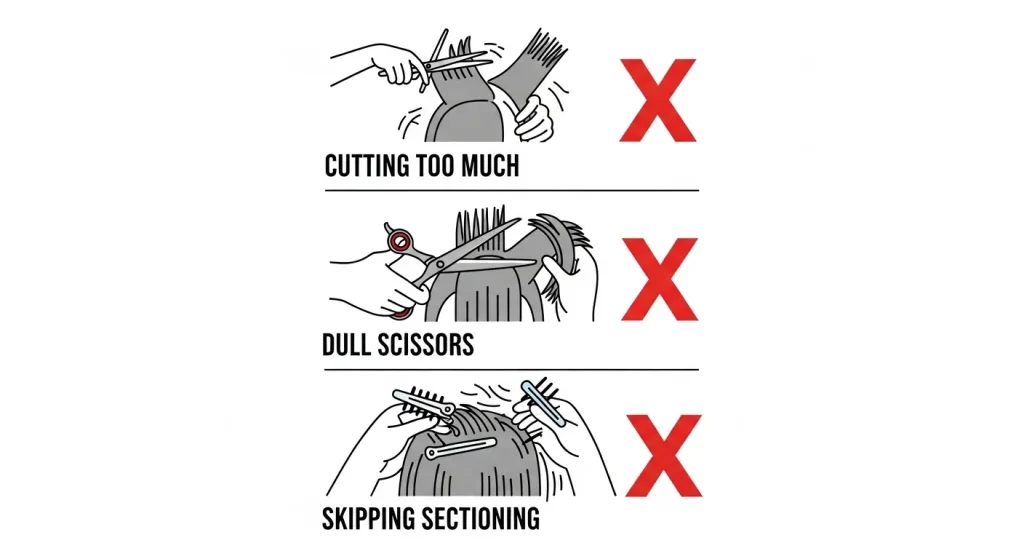
- Cutting too much at once. Always trim gradually.
- Skipping sectioning, which makes hair uneven.
- Using dull scissors that cause split ends.
- Cutting on soaking wet hair (it shrinks when dry).
- Ignoring hair texture differences (straight, wavy, curly).
Beginner-Friendly Hairstyles You Can DIY Haircut at Home
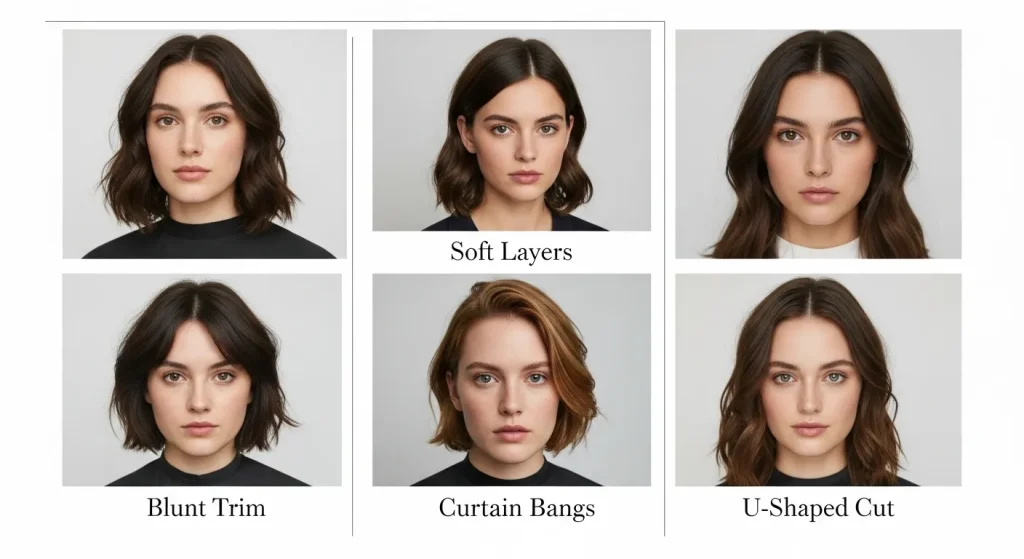
- Blunt Trim – Simple and sleek for straight or wavy hair.
- Soft Layers – Adds shape with minimal effort.
- Curtain Bangs – Easy and forgiving if trimmed too long.
- U-Shaped Cut – Achieved by trimming in a ponytail.
Expert Tips for Success
- Trim no more than half an inch at a time.
- Watch tutorials before trying a new technique.
- Keep your hand steady and cut slowly.
- Stick to trims rather than full restyles if you’re new.
How to Maintain Your DIY Haircut
Once you’ve given yourself a fresh trim, maintenance is key to keeping your style looking sharp. Brush your hair daily to prevent tangles, use a nourishing conditioner to minimize split ends, and avoid excessive heat styling that can make your cut look uneven over time. Trimming every 6–8 weeks helps keep your shape intact, especially if you’ve added layers or bangs. You can also invest in lightweight styling products like leave-in sprays or hair oils to enhance shine and make your DIY haircut look salon-worthy every day.
Conclusion

Cutting your own hair is an empowering skill that saves money and gives you freedom over your style. By following this DIY haircut at home step-by-step guide for beginners, you can confidently maintain your look between salon visits. Start small, go slow, and with practice, you’ll perfect the art of at-home haircuts.

